
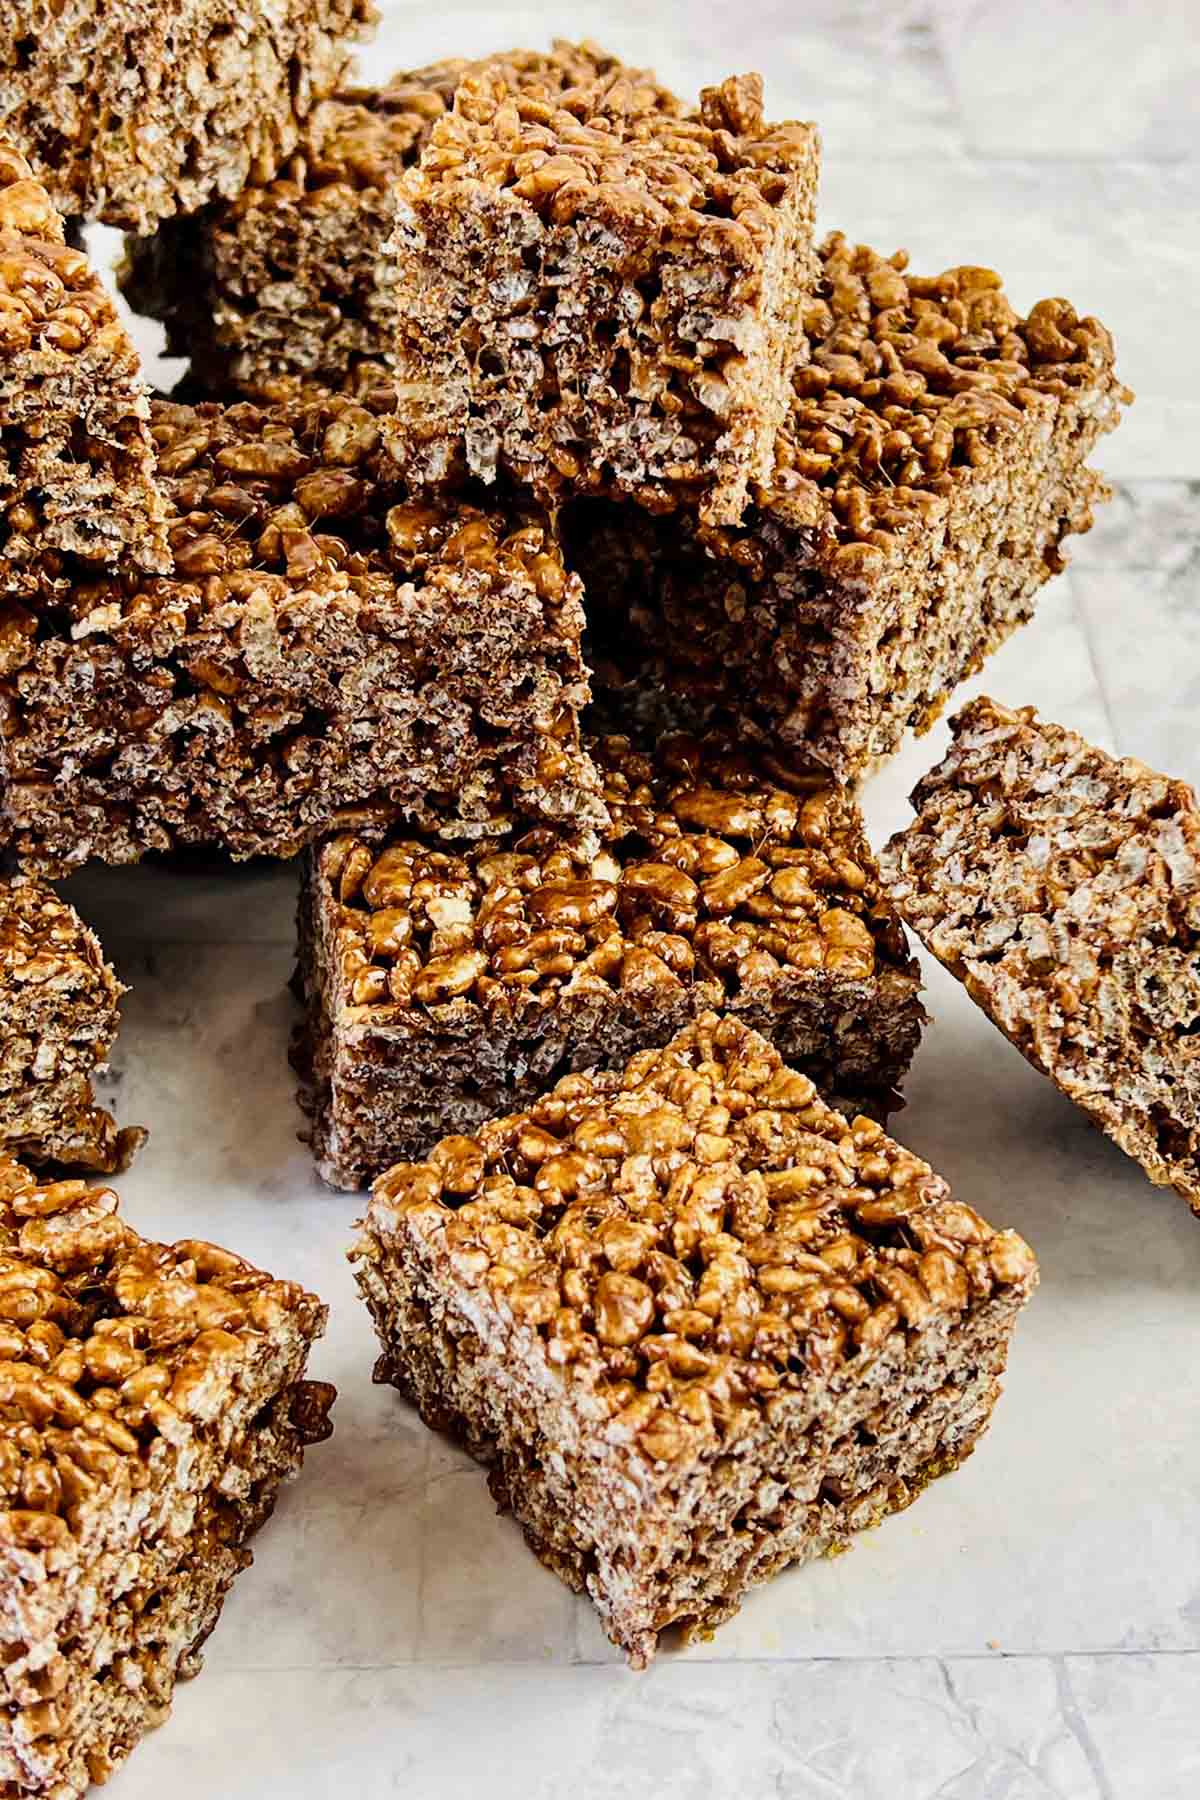
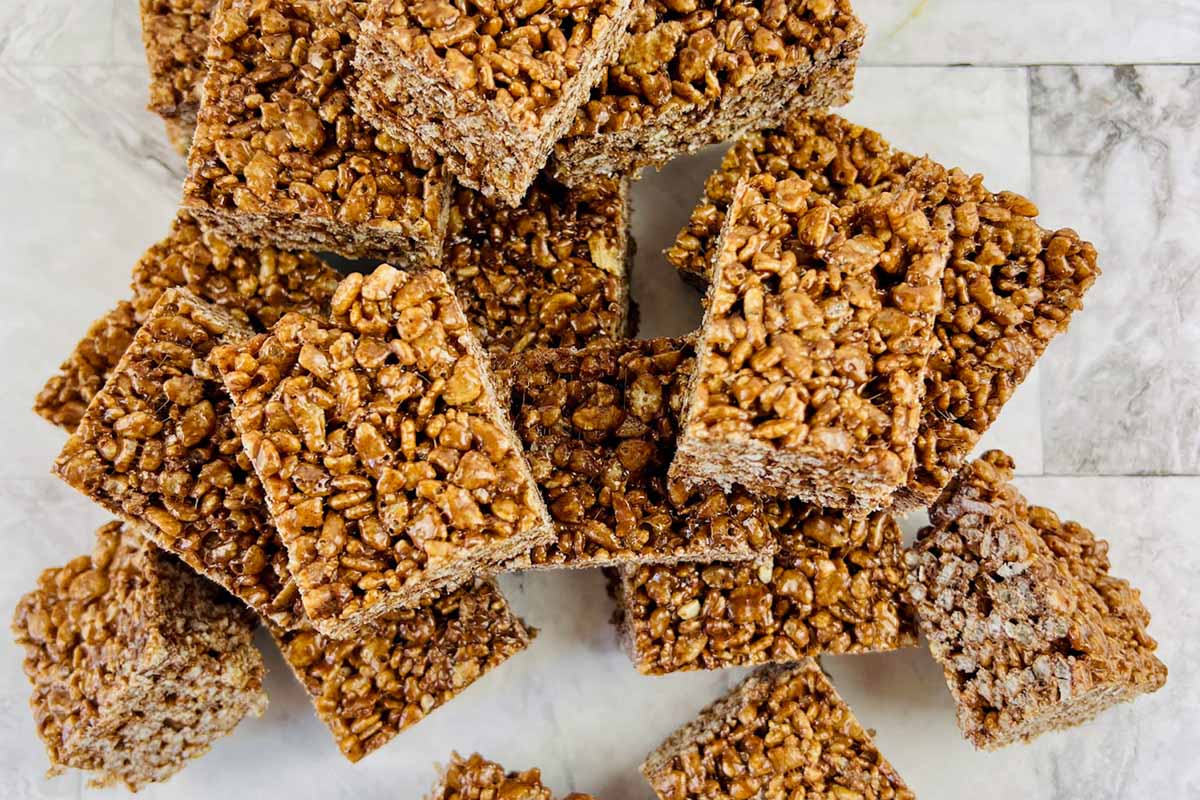
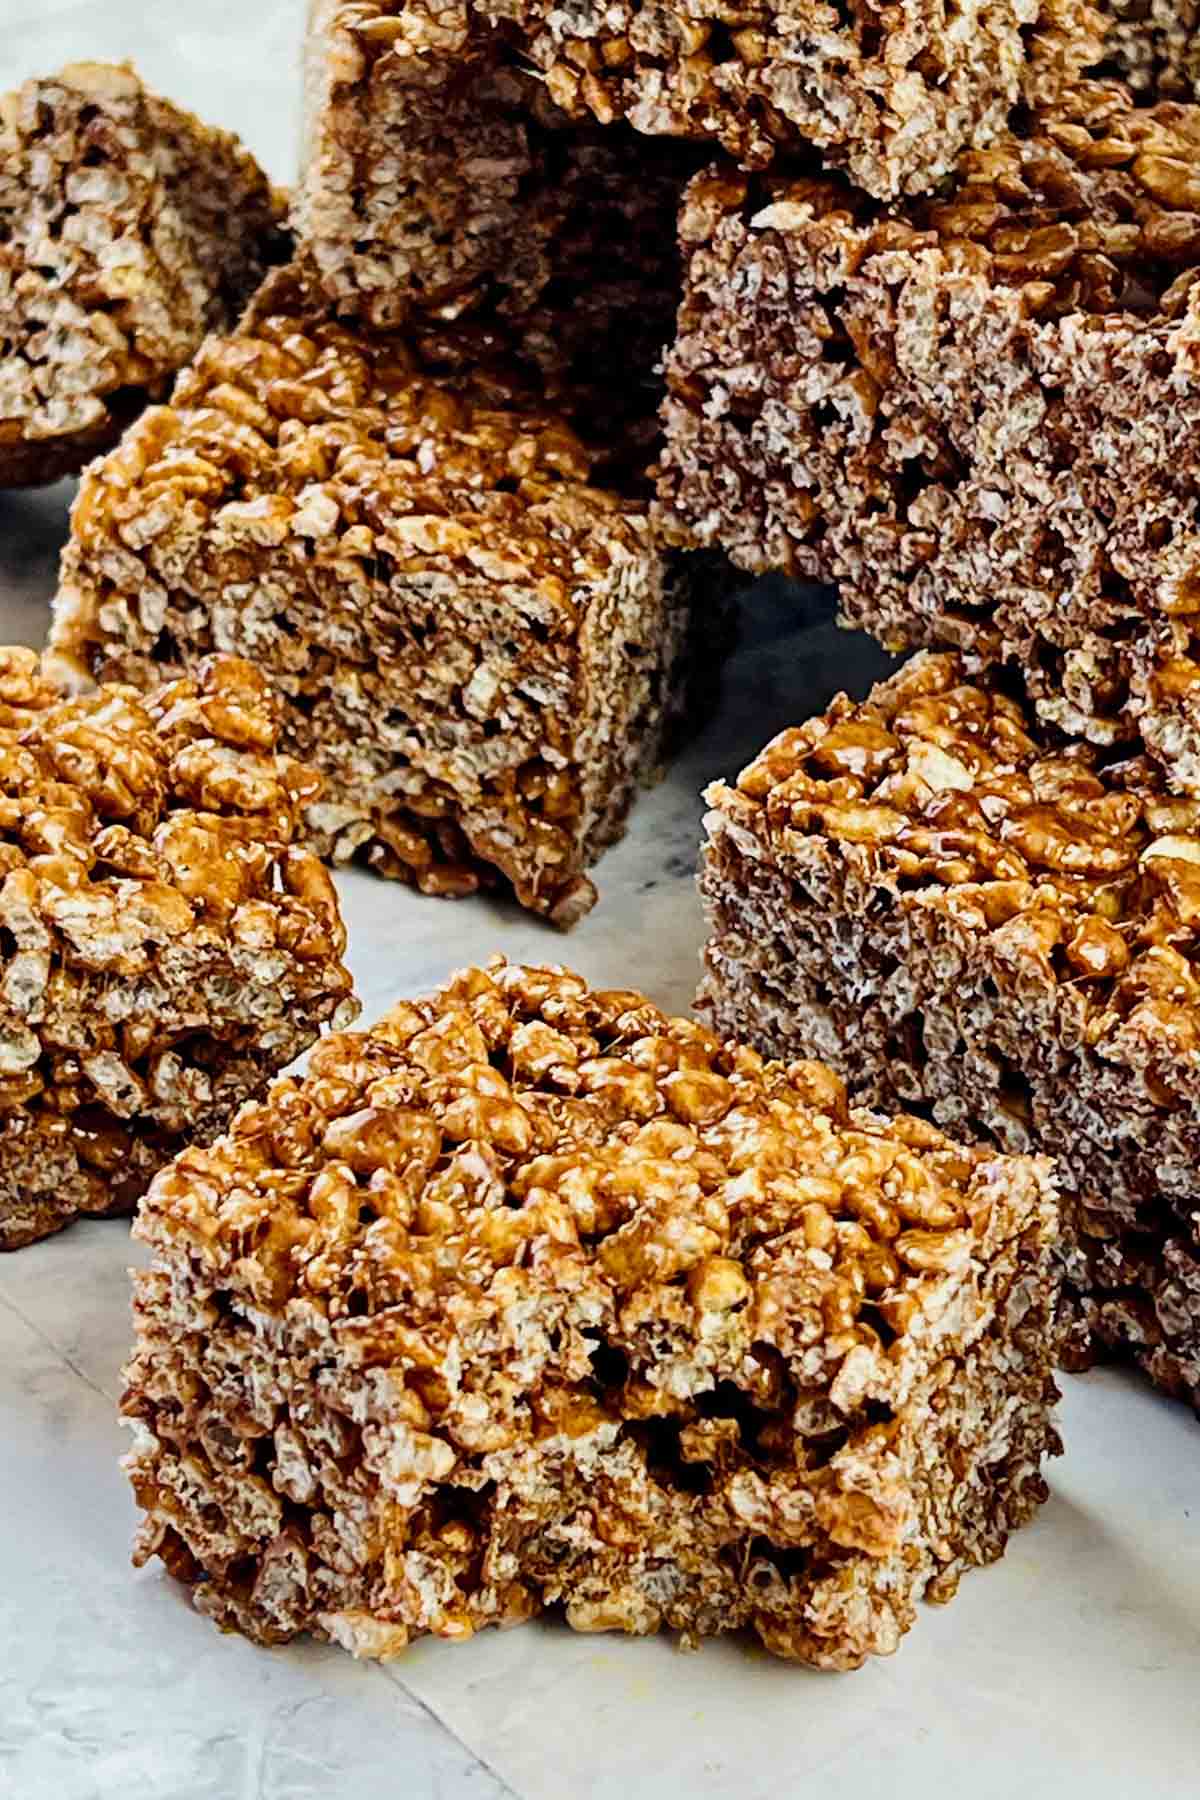
With a gooey blend of melted marshmallows, cocoa powder, and a touch of vanilla extract, these Chocolate Rice Krispie Treats take the classic treat to a whole new level. They're super easy to whip up too!
Check out my Reindeer Rice Krispie Treats and my Halloween Rice Krispies Treats for more Rice Krispie recipes!
Jump to:
Chocolate lovers! Are you ready for some homemade chocolate rice krispie treats? Look no further than this chocolate rice krispie treat recipe. These delicious treats are quick and easy to make!
These gooey chocolate rice krispie treats are great as an after school snack or birthday parties and are guaranteed to bring joy and smiles to everyone who tries them.
Why You'll Love This Recipe
If love an easy recipe made with simple ingredients you'll definitely want to make these. The addition of cocoa powder gives these cereal treats a rich, deep chocolate flavor.
Whether you dress them up with semi-sweet chocolate chips, mini chocolate chips, peanut butter chips, dark chocolate chips, milk chocolate chips or a chocolate drizzle, you'll want to add this treats recipe to your favorite no bake dessert list!
Ingredients You Need

- Rice Krispies cereal: Adds the iconic crispy texture to these treats.
- Marshmallows: The magic ingredient that holds everything together.
- Unsweetened cocoa powder: Adds a deep, rich flavor and a beautiful dark color to the treats.
- Unsalted butter: Adds richness and enhances the overall flavor.
- Vanilla extract: Added to enhance the flavor and provide a subtle sweetness.
Step By Step Photos

Melt butter in a large pot.
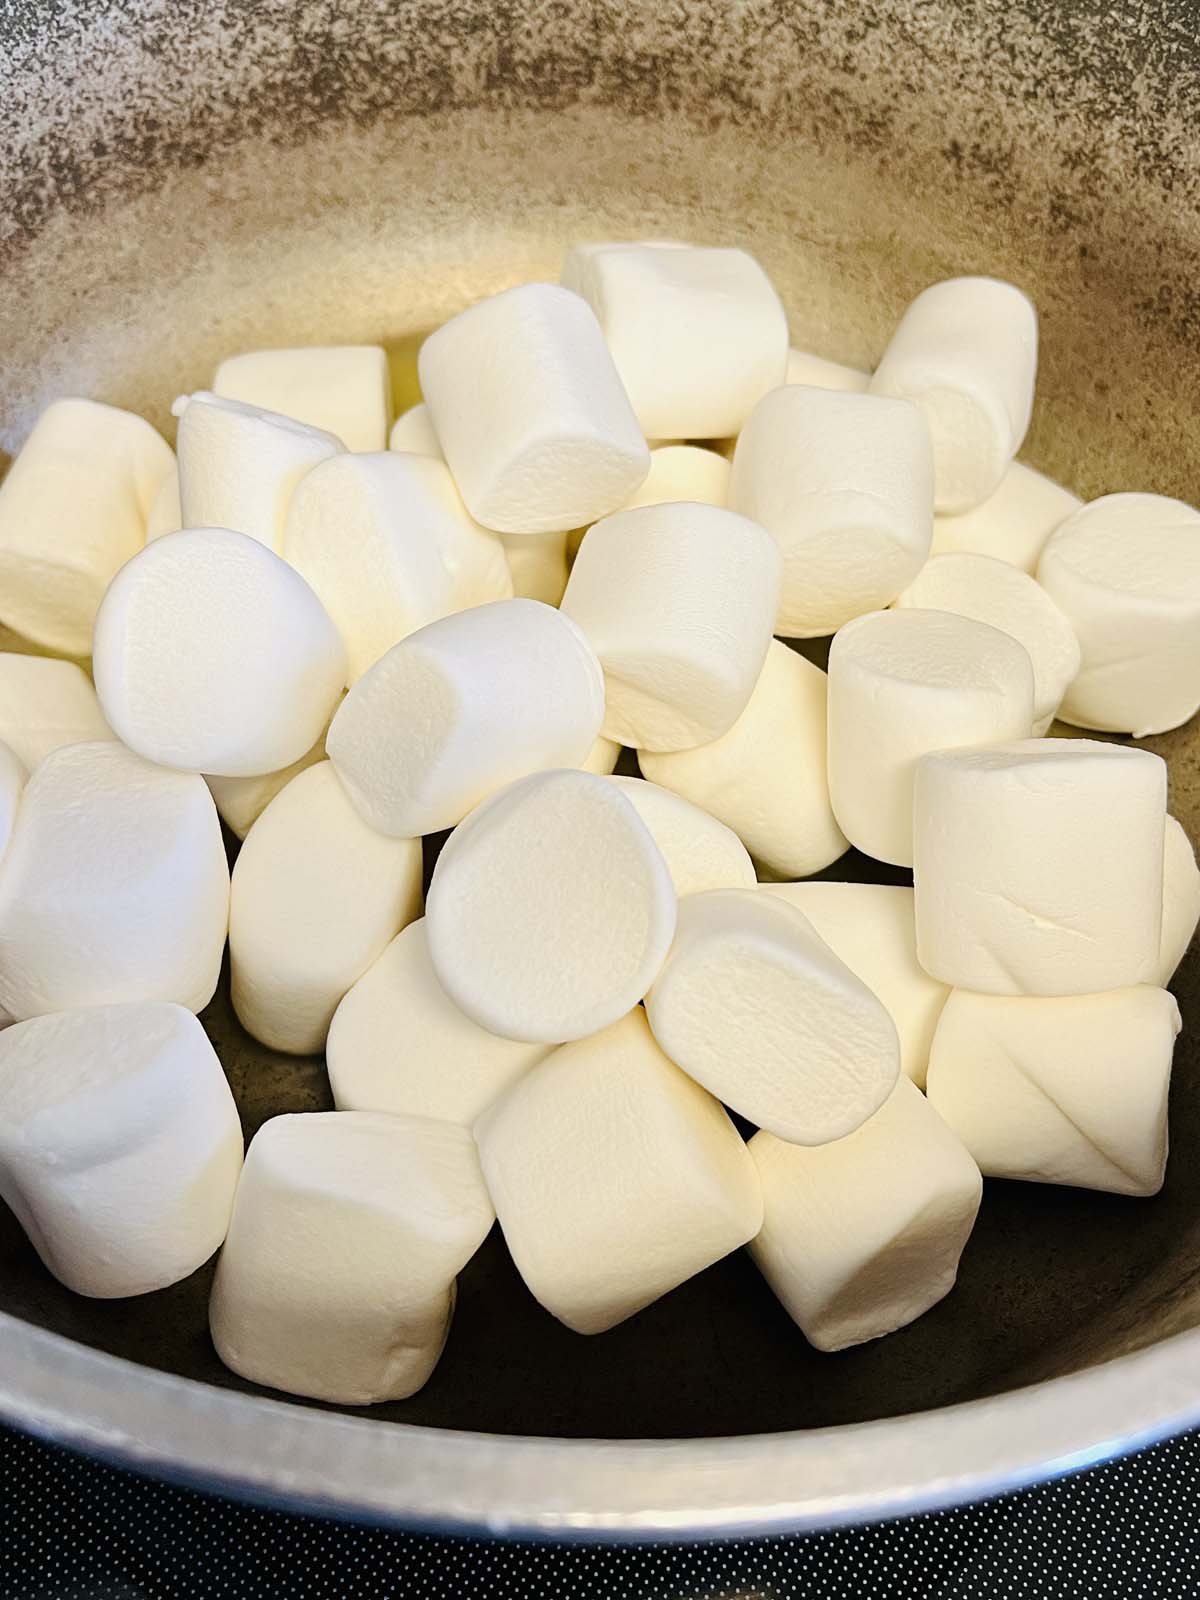
Add the marshmallows.

Stir constantly until completely melted.
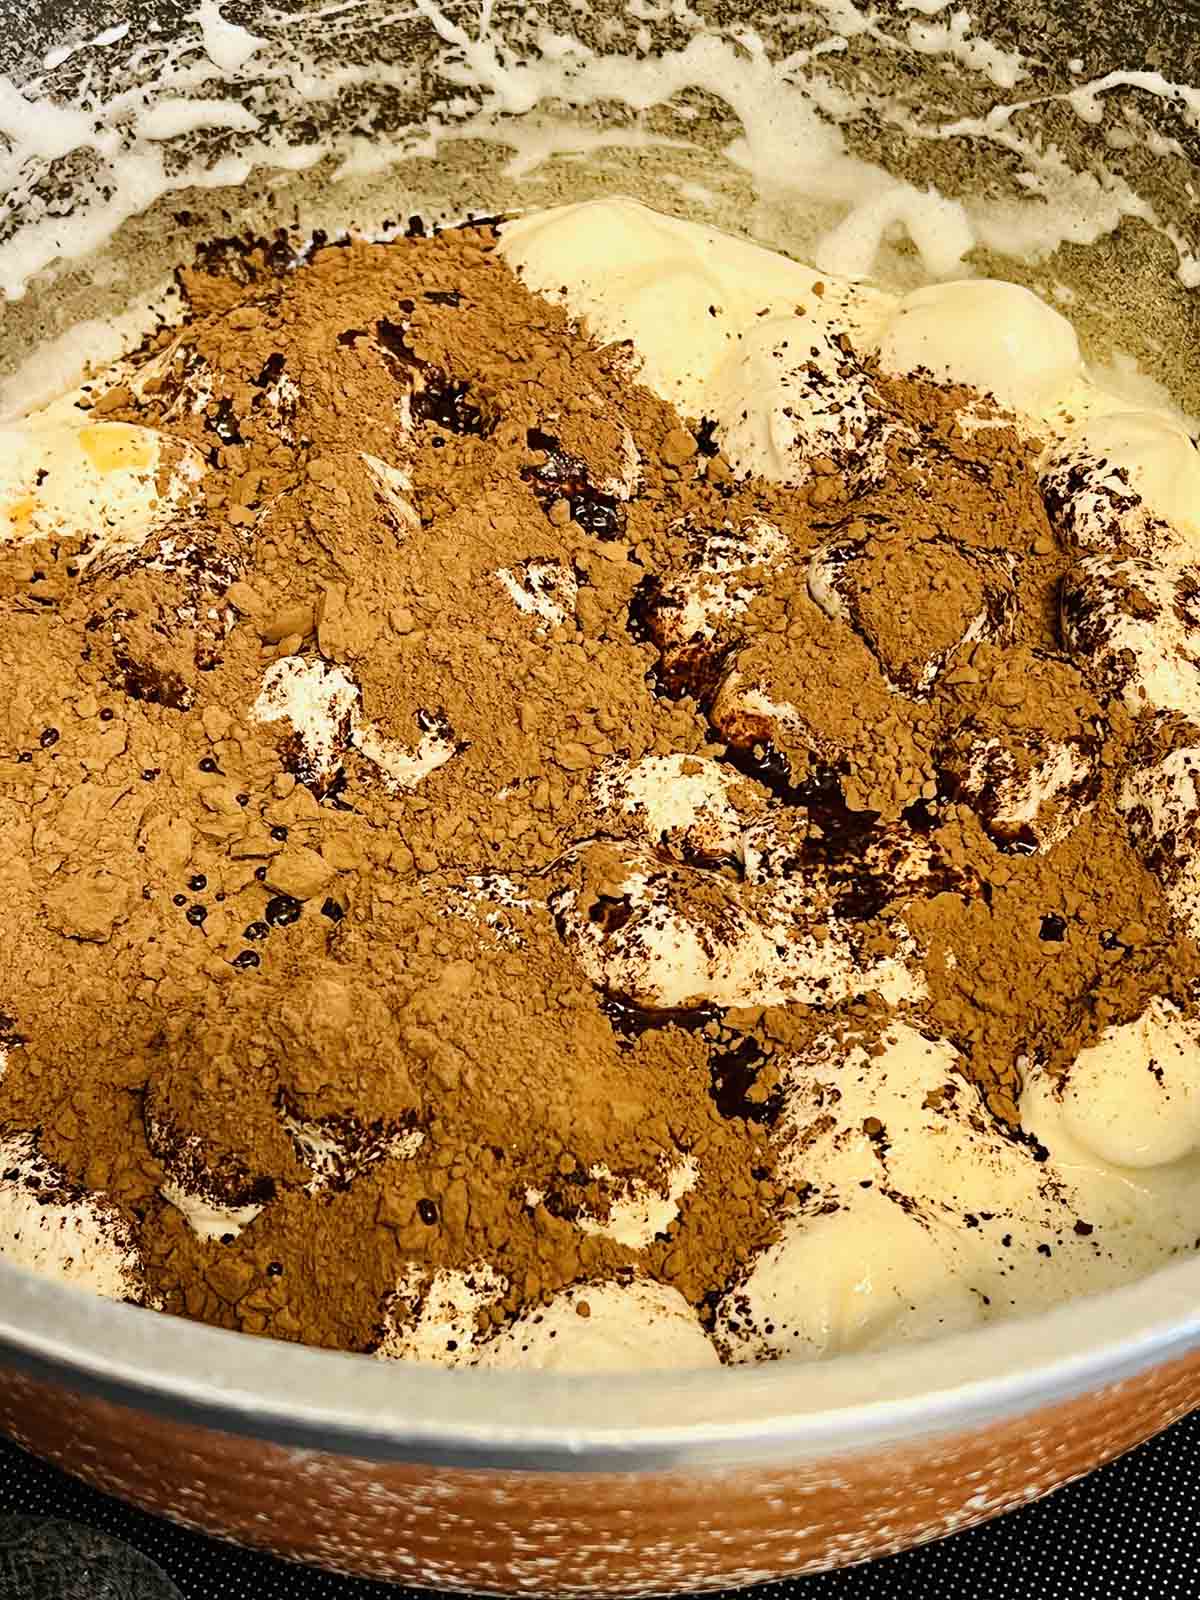
Add the cocoa powder and vanilla.

Stir until fully combined.

Add the Rice Krispies cereal.

Stir until cereal is coated.

Press down firmly in a baking dish.
How To Make Chocolate Rice Krispie Treats From Scratch
Step 1. Prepare pan: Grease a 9x13 inch baking dish with cooking spray or butter.
Step 2. Melt butter and marshmallows: In a large pot, melt ¼ cup of unsalted butter over low heat. Add 10 ounces of marshmallows and stir constantly until fully melted and smooth.
Step 3. Add cocoa and vanilla: Stir in ¼ cup of unsweetened cocoa powder and ½ teaspoon of vanilla extract until well combined.
Step 4. Mix with Rice Krispies: Remove the pot from heat and add 6 cups of rice krispies cereal. Stir until the cereal is fully coated in the chocolate mixture.
Step 5. Transfer to pan: Transfer the cereal mixture to the prepared baking dish and press it down firmly with a spatula to create an even layer.
Step 6. Cool and cut: Let the treats cool at room temperature for at least 30 minutes before cutting into squares.
NOTE: You can print the FULL recipe with all ingredients & detailed instructions below!
Tips
- Fresh marshmallows will melt more easily and result in a smoother, more consistent mixture.
- When melting the butter and marshmallows, use low heat and stir constantly to prevent burning.
- Use a spatula or your hands to press the mixture firmly into the baking dish. Wax paper sprayed with nonstick cooking spray is also helpful!
- Add a tablespoon or two of creamy peanut butter to the melted marshmallow mixture to make chocolate peanut butter rice krispie treats. Stir it in until well combined before adding the rice krispies cereal.
- Drizzle caramel sauce over the top of the pressed treats and sprinkle a pinch of sea salt over the caramel.
Frequently Asked Questions About Chocolate Rice Krispie Treats
Yes, you can substitute Rice Krispies cereal with chocolate-flavored cereal, such as Cocoa Krispies or Chocolate Rice Chex.
Greasing the baking dish with cooking spray or butter before pressing the mixture in will help prevent sticking. You can also line the pan with parchment paper, leaving some overhang, which will make it easier to remove the treats from the pan once cooled.
Yes, you can melt the marshmallows and butter together in the microwave. Use a microwave-safe bowl and heat in 30 second intervals, stirring well after each interval until the marshmallows and butter are melted and smooth.
Once they've cooled completely, place them in an airtight container. They can last for several days.
Yes, you can freeze them. Wrap the treats tightly in plastic wrap or aluminum foil before placing them in a freezer-safe container or bag for up to 2-3 months.
More Recipes You Might Enjoy


If you love this recipe, please leave a comment with a five-star rating — or simply hit the five-star button in the recipe card. Don't forget to signup for my newsletter.

Chocolate Rice Krispie Treats
Ingredients
- 6 cups rice krispies cereal
- 10 ounces marshmallows
- ¼ cup unsalted butter
- ¼ cup unsweetened cocoa powder
- ½ teaspoon vanilla extract
Instructions
- Grease a 9x13 inch baking dish with cooking spray or butter and set aside.
- In a large pot, melt the butter over low heat.
- Add the marshmallows and stir constantly until completely melted and smooth.
- Stir in the cocoa powder and vanilla extract until fully combined.
- Remove the pot from heat and add the rice krispies cereal.
- Stir until the cereal is fully coated in the chocolate mixture.
- Transfer the mixture to the prepared baking dish and press down firmly with a spatula to create an even layer.
- Let cool at room temperature for at least 30 minutes before cutting into squares and serving.
Notes
- Fresh marshmallows will melt more easily and result in a smoother, more consistent mixture.
- When melting the butter and marshmallows, use low heat and stir constantly to prevent burning.
- Use a spatula or your hands to press the mixture firmly into the baking dish. Wax paper sprayed with nonstick cooking spray is also helpful!
- Add a tablespoon or two of creamy peanut butter to the melted marshmallow mixture to make chocolate peanut butter rice krispie treats. Stir it in until well combined before adding the rice krispies cereal.
- Drizzle caramel sauce over the top of the pressed treats and sprinkle a pinch of sea salt over the caramel.
- Storing: Once they've cooled completely, place them in an airtight container. They can last for several days.
- Freezing: Wrap the treats tightly in plastic wrap or aluminum foil before placing them in a freezer-safe container or bag for up to 2-3 months.
Nutrition
All nutritional information is based on third-party calculations and should be considered estimates. Actual nutritional content will vary with brands used, measuring methods, portion sizes and more.


Leave a Reply